
The Process of Block Printing: A New Love!
Block printing is one of those old art forms that has been gaining new attention—and it’s no wonder why! The process is addicting, and the finished product is beautiful. Simple, yet carrying so much artisanal flair—block prints highlight line, color, and composition. An artistic trifecta!
Let’s talk about how it all goes down.
The Planning
Preparing a block print requires the collecting of a few basic materials (at least). For the kind of art displayed on my site, you’ll need a rubber block. These are offered in all kinds of sizes. You’ll need carving materials—found online or at most art supply stores. You’ll need block printing ink, and a smooth rubber roller.
Assess the size of your rubber block, and consider the type of design you’ll want to create. You may want to take into consideration your intentions for the finished product. Will it be repeated on fabric? Will it be vectorized for digital art? Will you be using it for stationery or art prints?
You’ll also want to begin to think about what negative space will be incorporated into your block print. What do you want to highlight in your design by carving space out, versus keeping solidly present on the block?
I like to outline the design with pencil before I start carving. I know I have the freedom to deviate from my original line as I wish, but it’s nice to have a starting point.
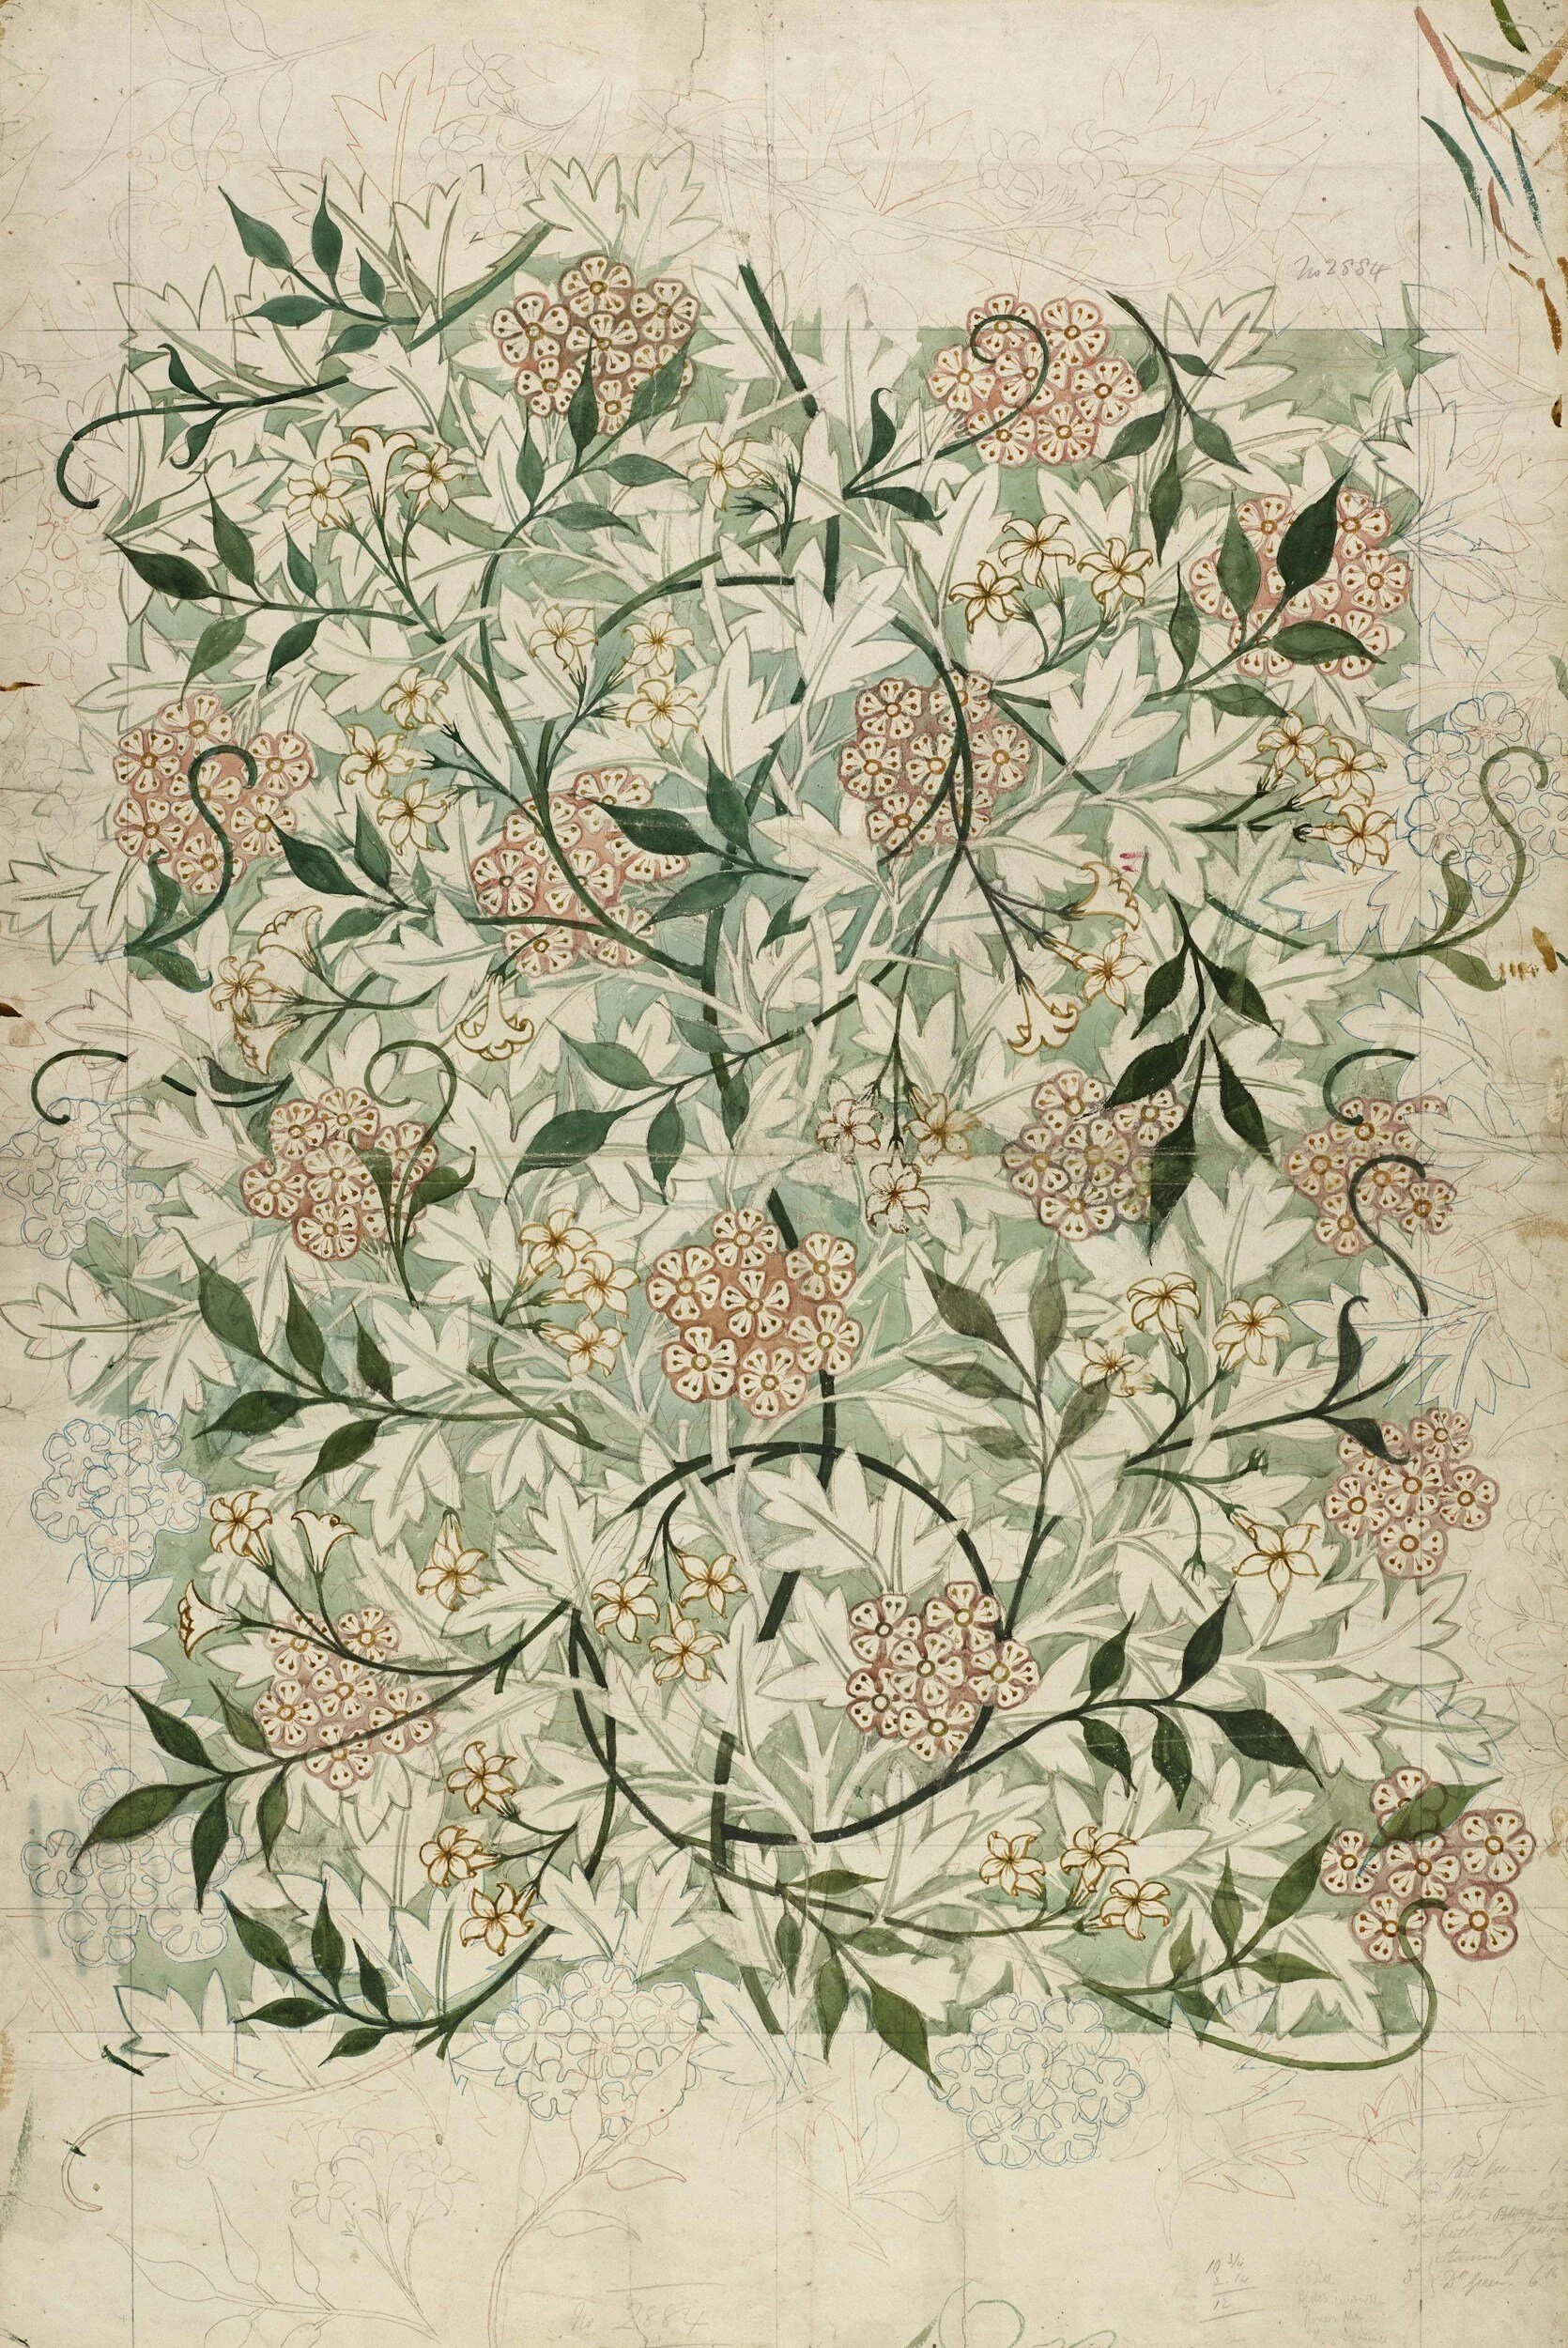
Here’s a picture of some preliminary lines drawn on a recent project:

Planning a Block Print | annalisavsawtell.com
The Process
Once you’ve put some thought and preparation into the block print, it’s time for the fun to begin! The process of carving the rubber block is actually quite dreamy.
Not at all like carving wood (though some block prints are produced by wood), carving rubber is smooth—very, very smooth. The carving tool glides across the rubber, and there is a lot of intricacy and control that’s made possible by this medium. I have noticed that the quality of rubber is a big difference maker in glide-ability, and my favorite has been the brand linked here.
You can continue to carve out all that’s necessary for your block to be complete. I like to do the larger carving elements first, and finish with the skinny detailed lines last.
Here’s a photo of a project that’s midway through carving:

Midway Block Print | annalisavsawtell.com
The Product
Lastly, you get to put your completed block to work. I have enjoyed creating art prints, along with digitizing some of my block prints for patterns.
(I’ll be using the words ink and paint interchangeably. This is what I have used.)
To apply the paint/ink to your block, it’s important to use a very smooth roller—ideally one that’s made for block printing. People often use plexiglass for this step, but what I had around my house was a large, flat serving platter, so I used that to mix my ink.
Because many block prints are single-color works of art, color is key. Mixing until you find just the right color is a fun, and important, part of the process, so don’t rush it!
Once your color is established, you can run your roller over the paint. I like to run the roller back and forth on some paper as well just to make sure it’s a very thin and smooth layer of ink that remains.
Roll it onto your block. Prepare your paper or other item. And press the block onto your item firmly. Apply pressure to each part of the block, being careful not to slide the block around as you go.
Carefully lift the block back up, and wallah! You’ve made a block print!
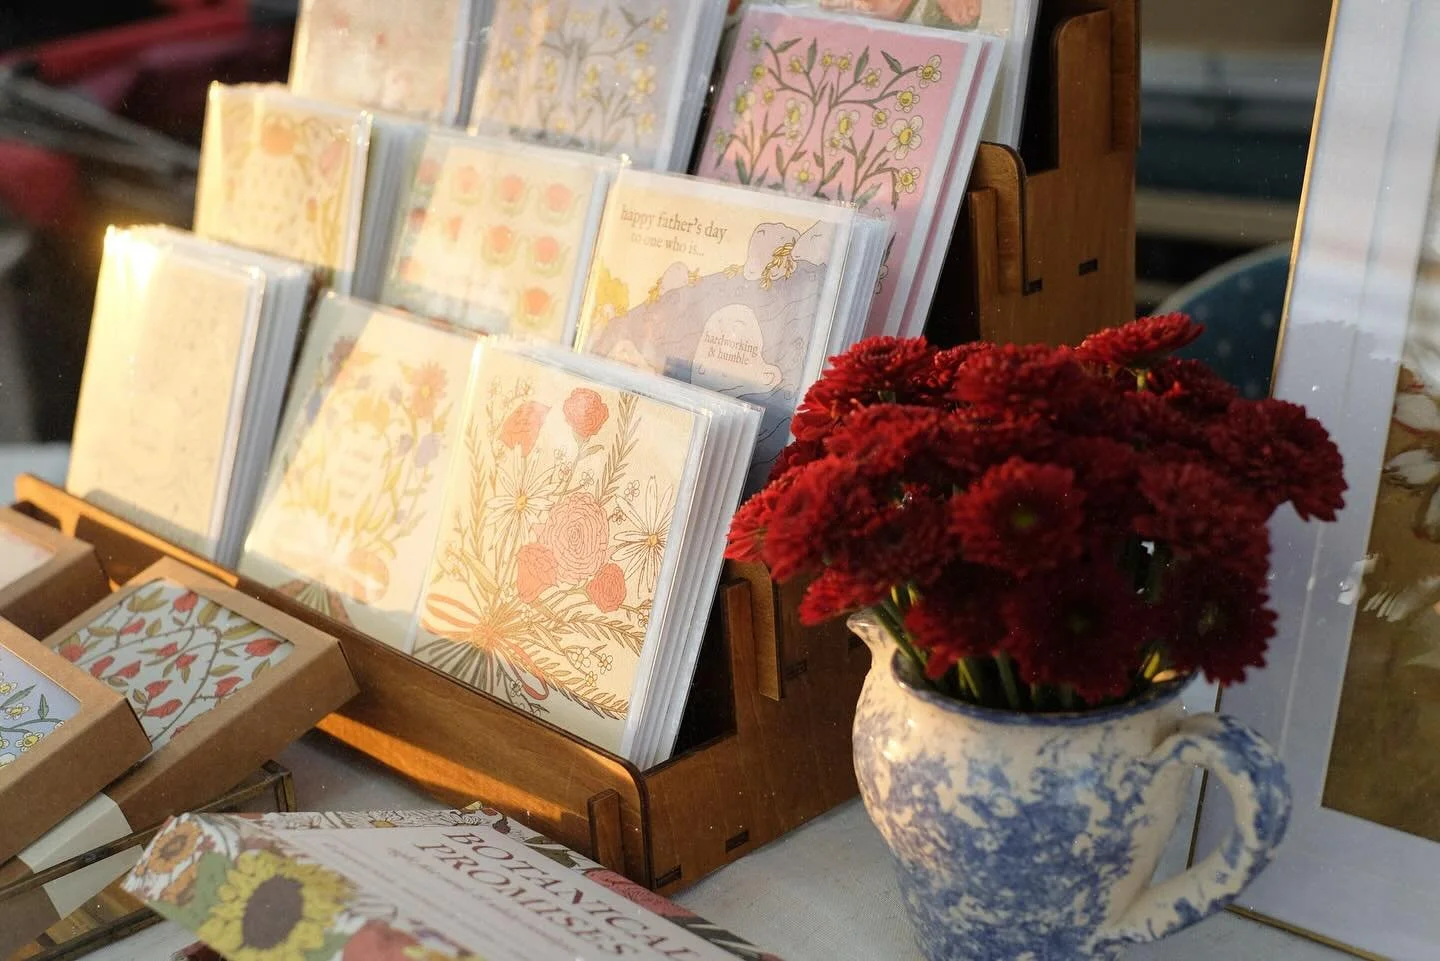
Below you’ll see a bit of this step:

Block Printing | annalisavsawtell.com
The Possibilities
Block printing is a very versatile form of creating. As mentioned, it can be used on paper, fabric, and more! Below is an example of how this block print was digitized, turned into a pattern, and a mock-up image of how it would look on a baby onesie.

I hope you enjoyed learning about block printing! Have any questions? Feel free to leave them in the comments.